Authentication Node
The AuthenticationNode prompts the user to authenticate using Denmark’s Bank ID system. It displays a customizable message along with a login button (default label: "MitID"). When clicked, the user is redirected to the Bank ID provider in the same window. Upon successful authentication, the user is returned to the original interface and allowed to continue the conversation.
This node ensures the user’s identity is verified before proceeding in the flow.
Use Case
Use the AuthenticationNode when:
- You need to verify the user’s identity before showing sensitive data
- Access to the next steps in the flow must be gated by authentication
- You want to securely fetch or store personal details like SSN or name after login
This node is typically used early in flows that require validation of the user, such as initiating a claim, accessing policy details, or personalizing the flow.
UI Examples
- TellUs
- WebChat
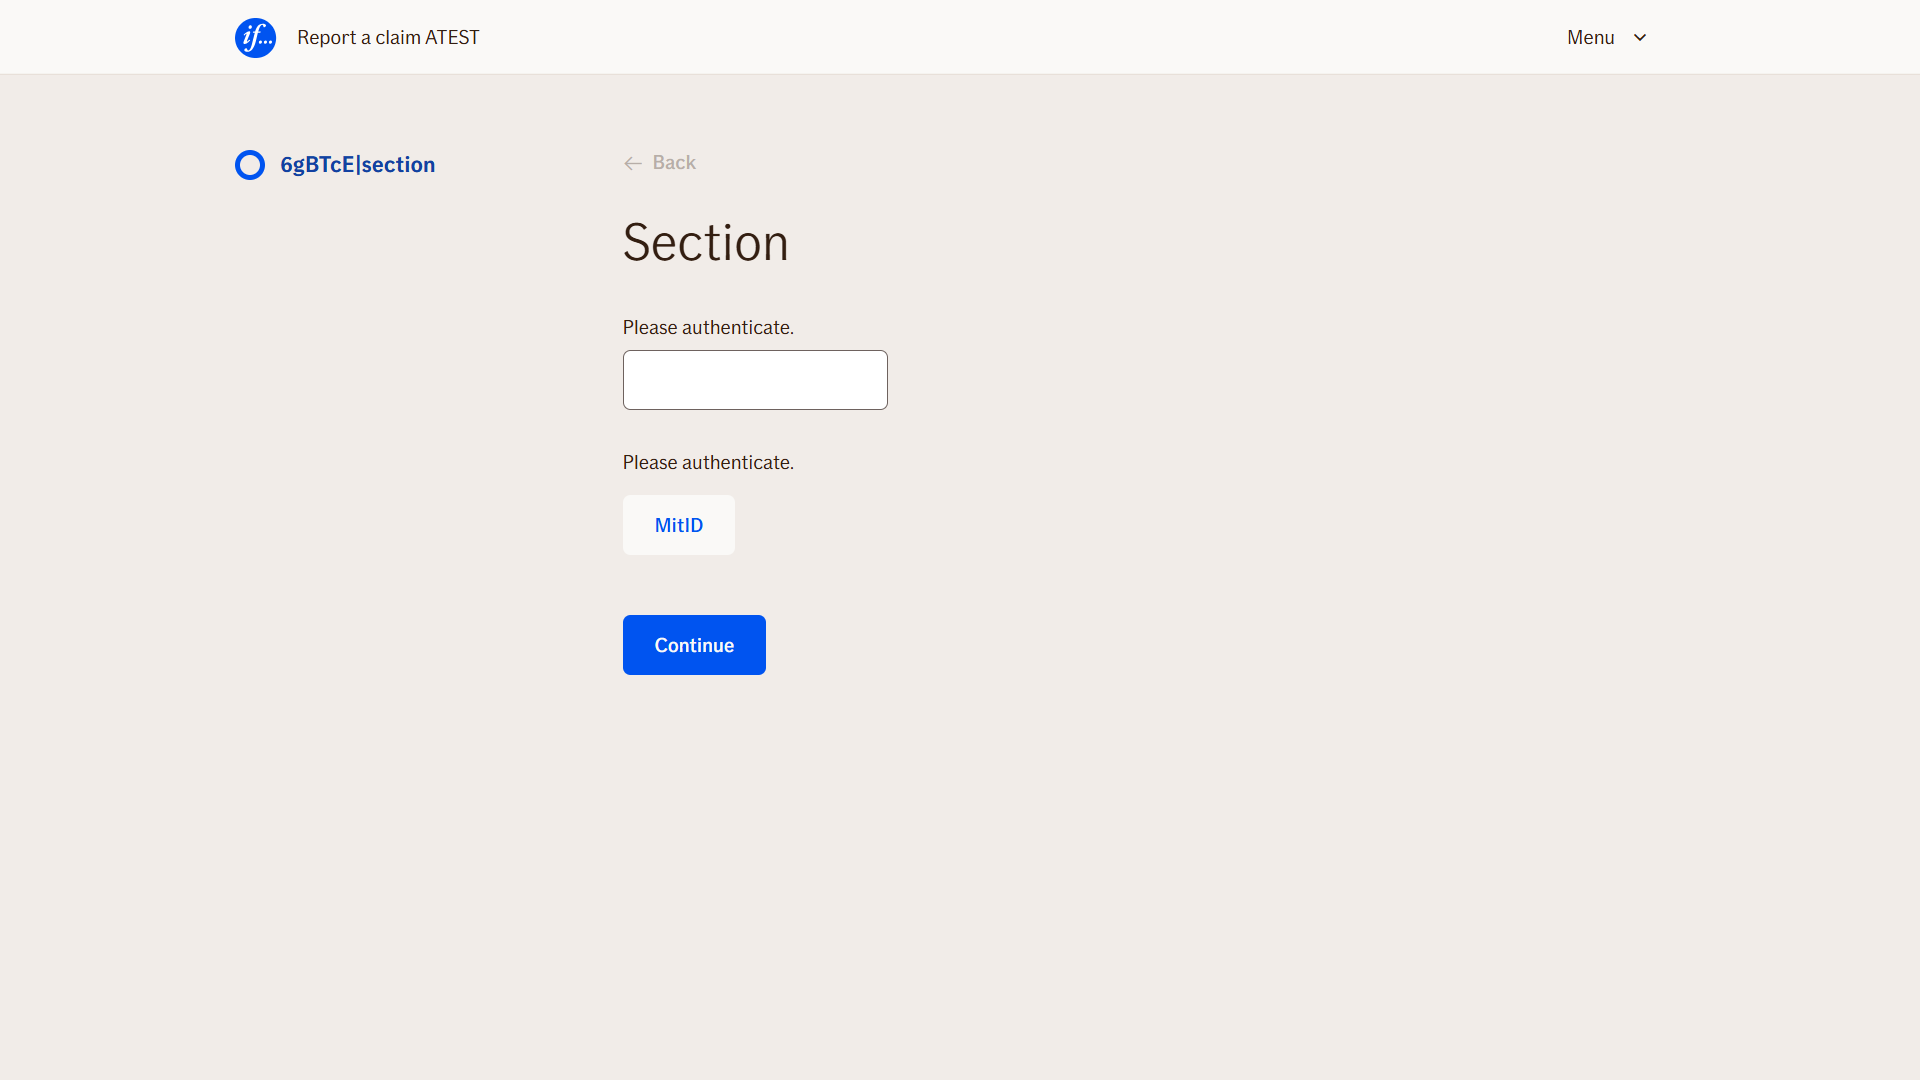
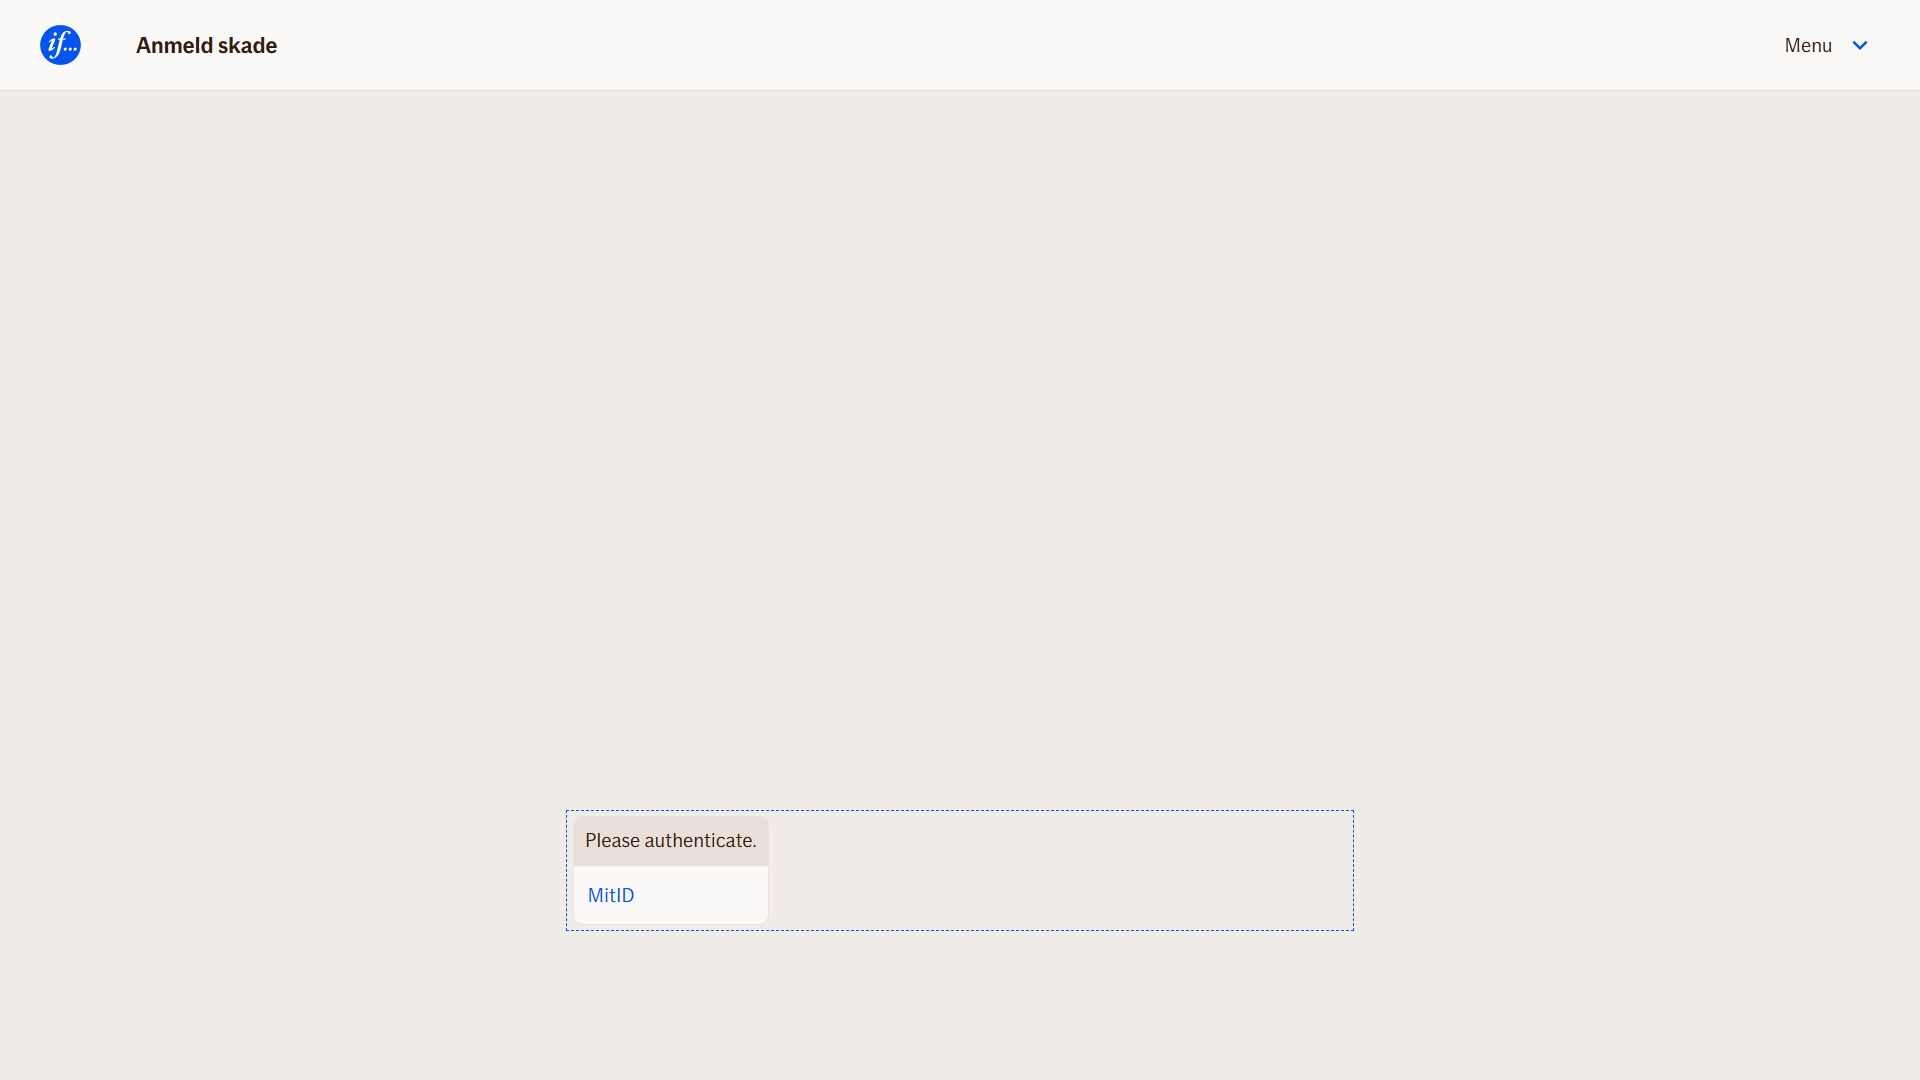
Behavior
- Blocking: The flow does not continue until the user has authenticated
- Button-driven: User must click the login button to proceed to Bank ID
- Redirect flow:
- Opens the Bank ID interface in the same window
- Returns to the original UI after login
- Produces multiple outputs: User info, metadata, and timestamp of authentication
- Stores data in output properties that can be referenced later in the flow using dot notation (
[userAuth.name],[userAuth.ssn], etc.)
Node Metadata
| Property | Description |
|---|---|
| Node class | AuthenticationNode |
| MessageType | 301 |
| CanBeEdited | False |
| CanBeProcessedOnce | True |
| RequireUserResponse | Yes |
Input Properties
| Property | Description |
|---|---|
| loginButton | Defines the label text shown on the authentication button. This is what the user clicks to initiate the login process.
|
| defaultValidationMessage | The default error message shown when the input is invalid or missing. This is used if no custom validation message is provided.
|
| sectionId | Groups this node visually under a specific section in TellUs. When multiple nodes share the same |
| defaultValue | The initial value that is prefilled into the input field when the node is rendered. Useful for suggesting defaults or pre-populating known data. |
| isRequired | Determines whether the user must provide a value before continuing. If set to
|
| isRequiredValidationMessage | The error message shown when a required field is left empty. This overrides the default validation message when
|
Output Properties
| Property | Description |
|---|---|
| ssn | The authenticated user’s national identification number. Typically used for person-level lookups or backend validation. |
| name | The user’s first name as provided by the authentication provider. |
| surname | The user’s last name or family name. |
| nameSurname | TFull name in display-friendly format: typically "<first name> <last name>". |
| country | The country code or name associated with the user’s identity. Useful in regional flows or for branching logic. |
| bankName | The name of the bank or identity provider used during authentication (e.g., “Danske Bank”). |
| authTimestamp | The date and time when the authentication was completed. Useful for logging or validation. |
| AuthorizedUser | A serialized object or token representing the authenticated user (e.g., for internal APIs or advanced authorization checks). |
| username | The user’s login ID or username if provided by the identity system. |
| displayValue | A formatted string meant to represent the user in summaries or UI (e.g., "John Doe from Denmark"). Often used in overview nodes or conditions. |
Editor Example
This link opens a prebuilt flow using this node in context. You can inspect how it's configured, how it's connected, and how it behaves in a real editor environment.
This guide will assist you in creating an authentication node in the Atlas Editor.
Go to atest.editor.atlas.ifext.biz
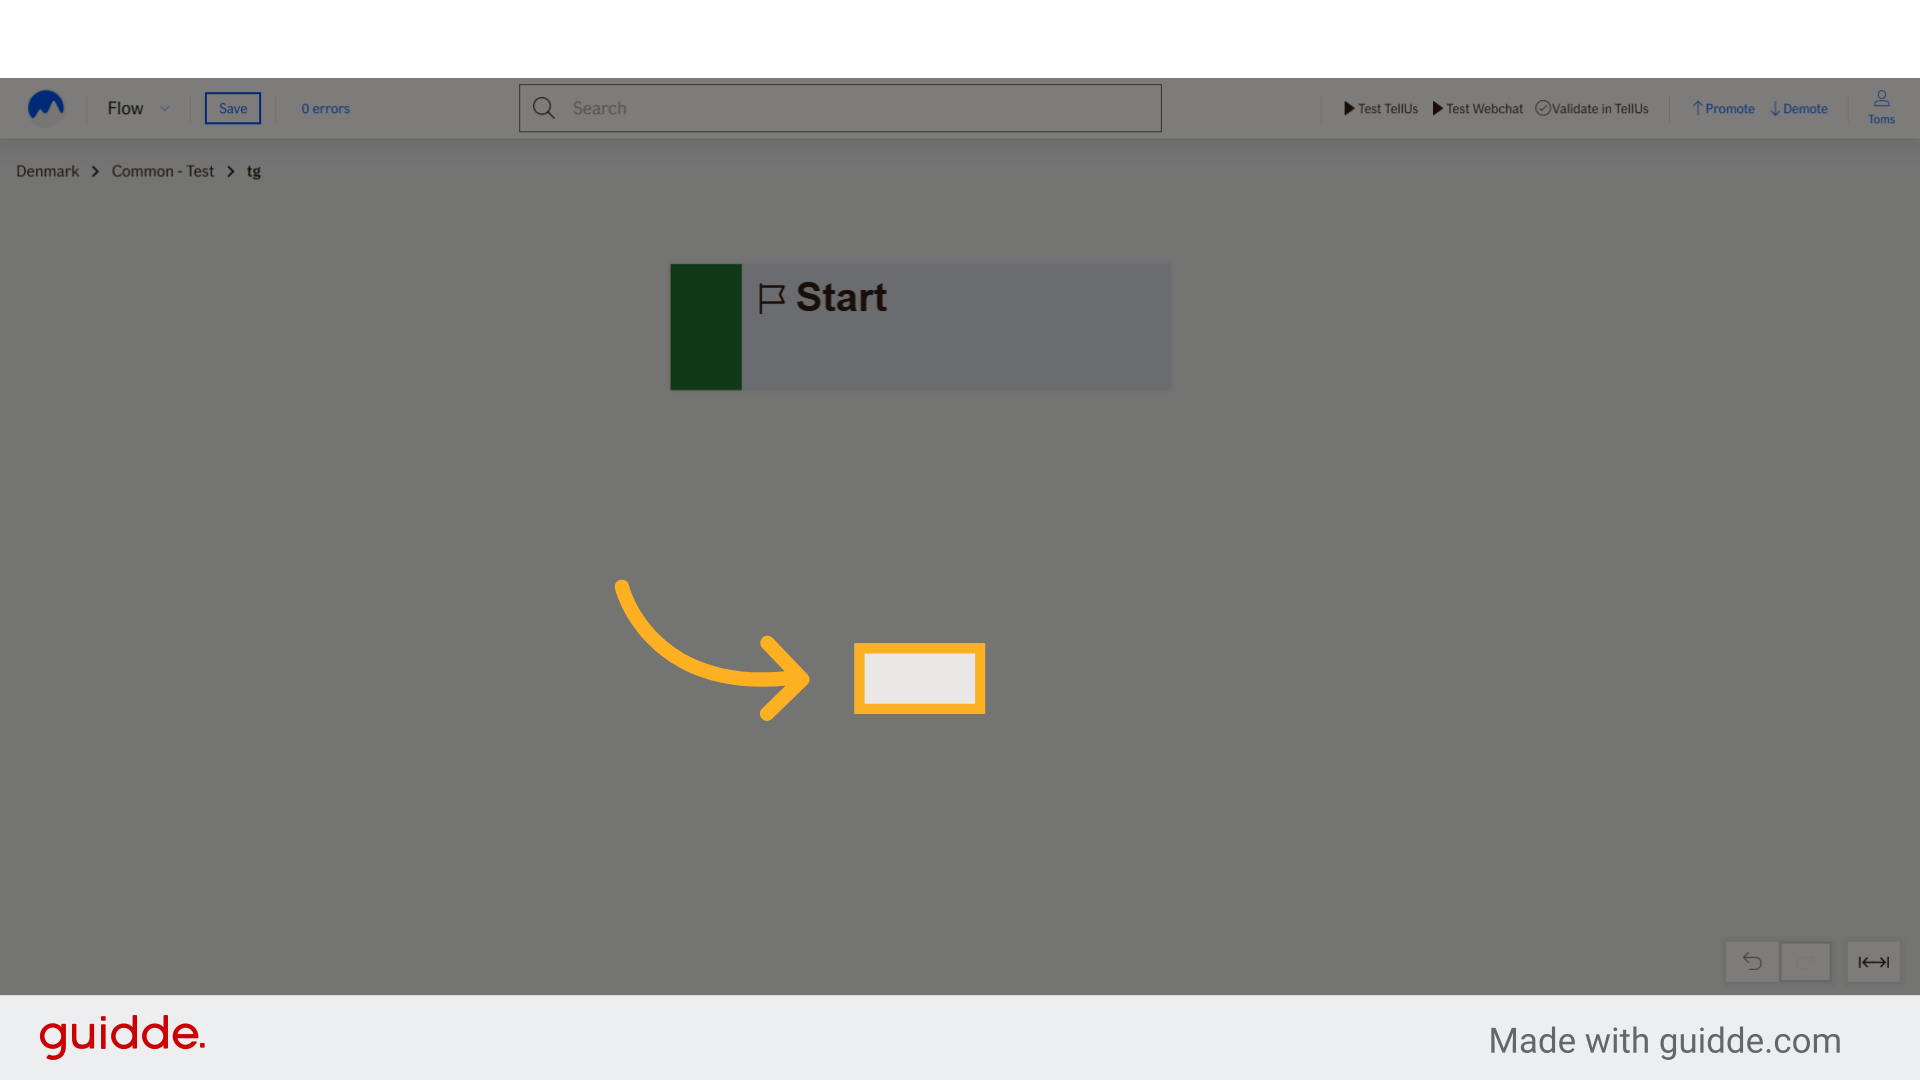
1. Right-click anywhere
Right-click anywhere in the editor.
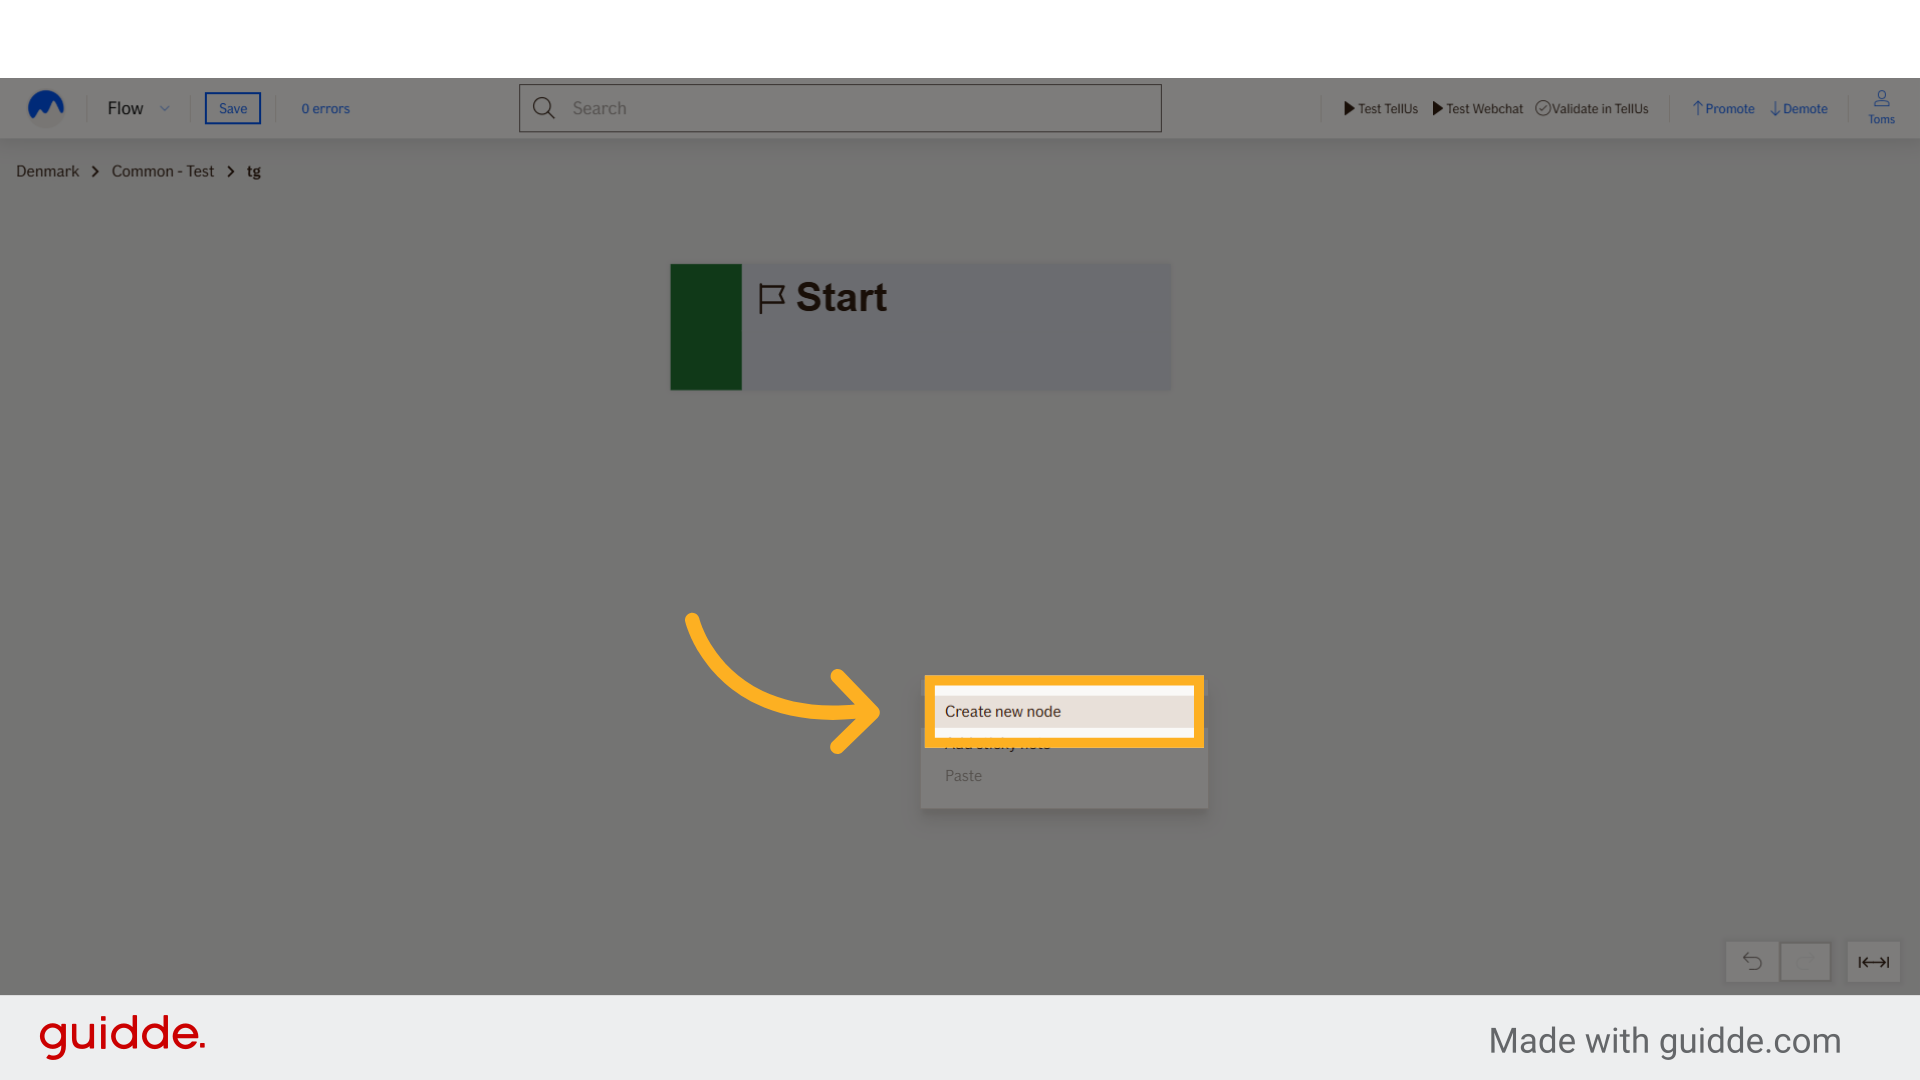
2. Click "Create new node"
Navigate to the option "Create new node" and select it.
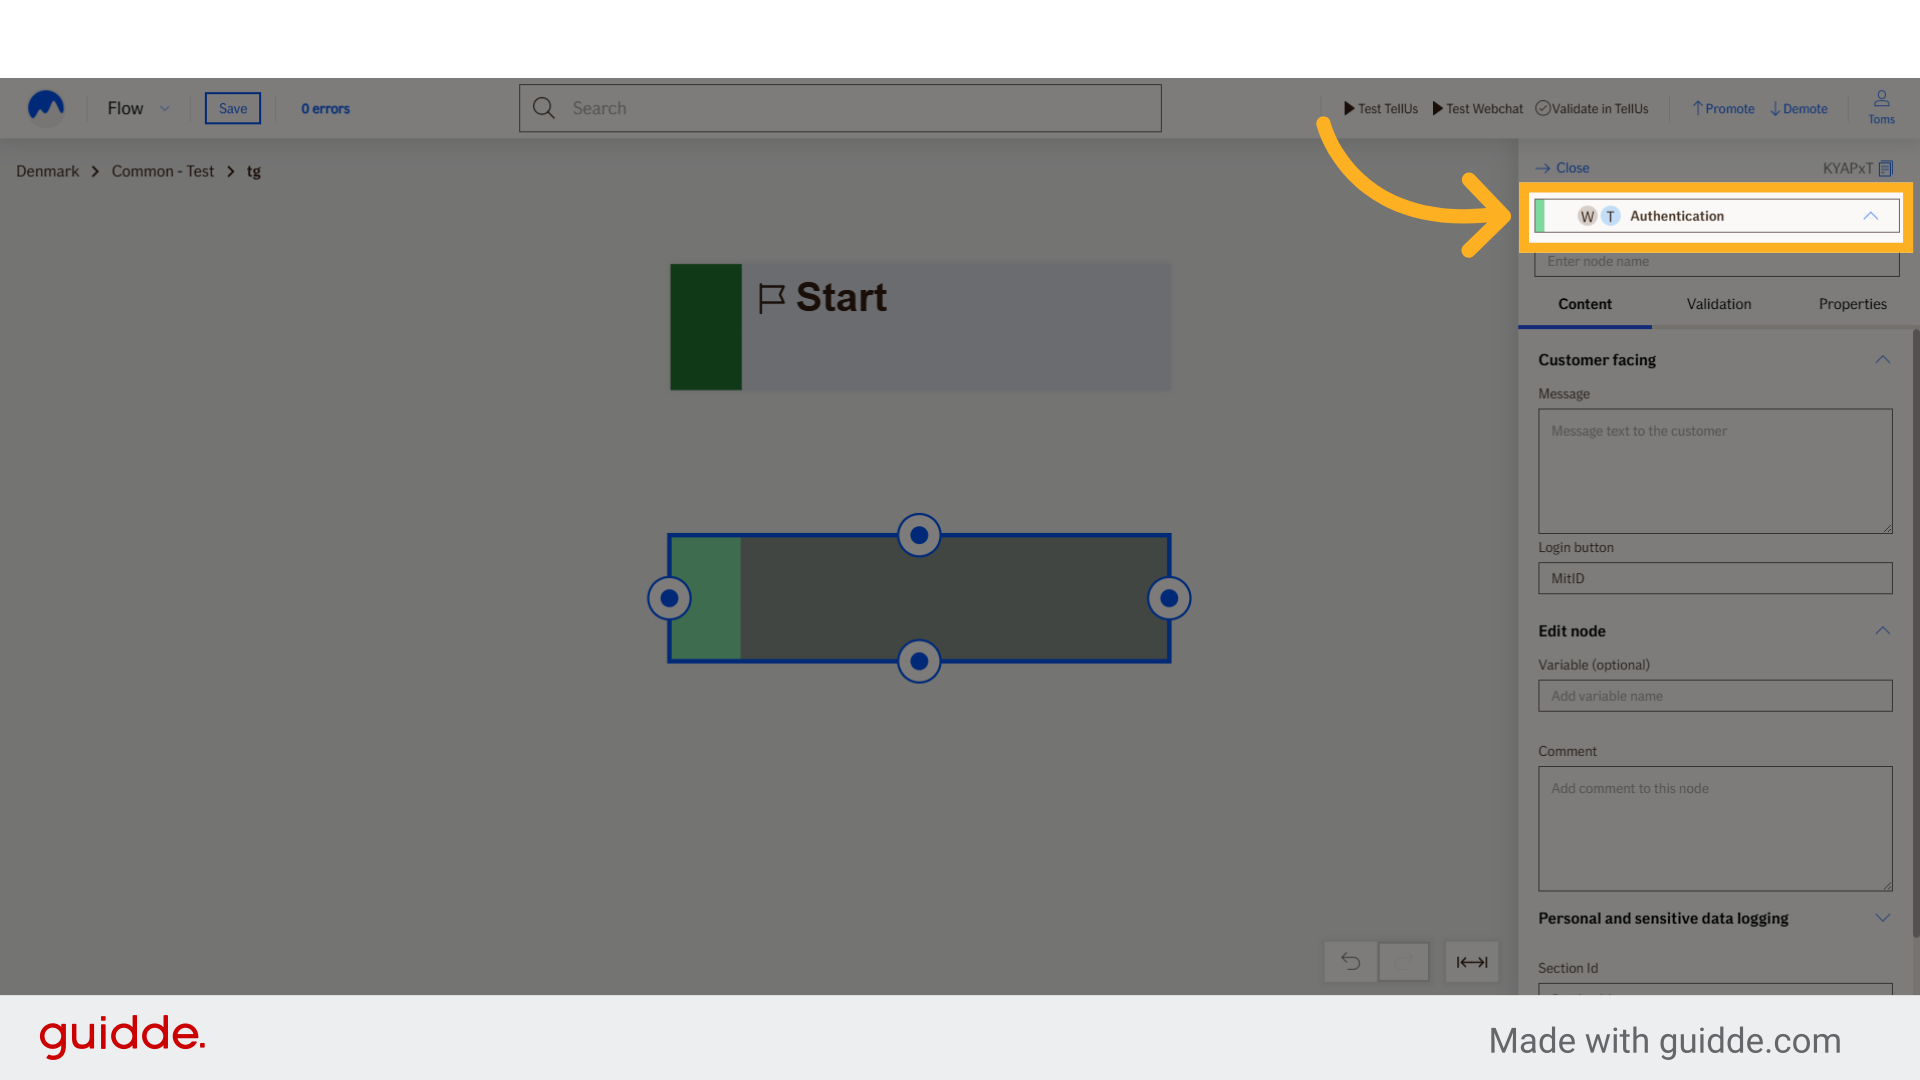
3. Choose "Authentication"
Select the "Authentication" node.
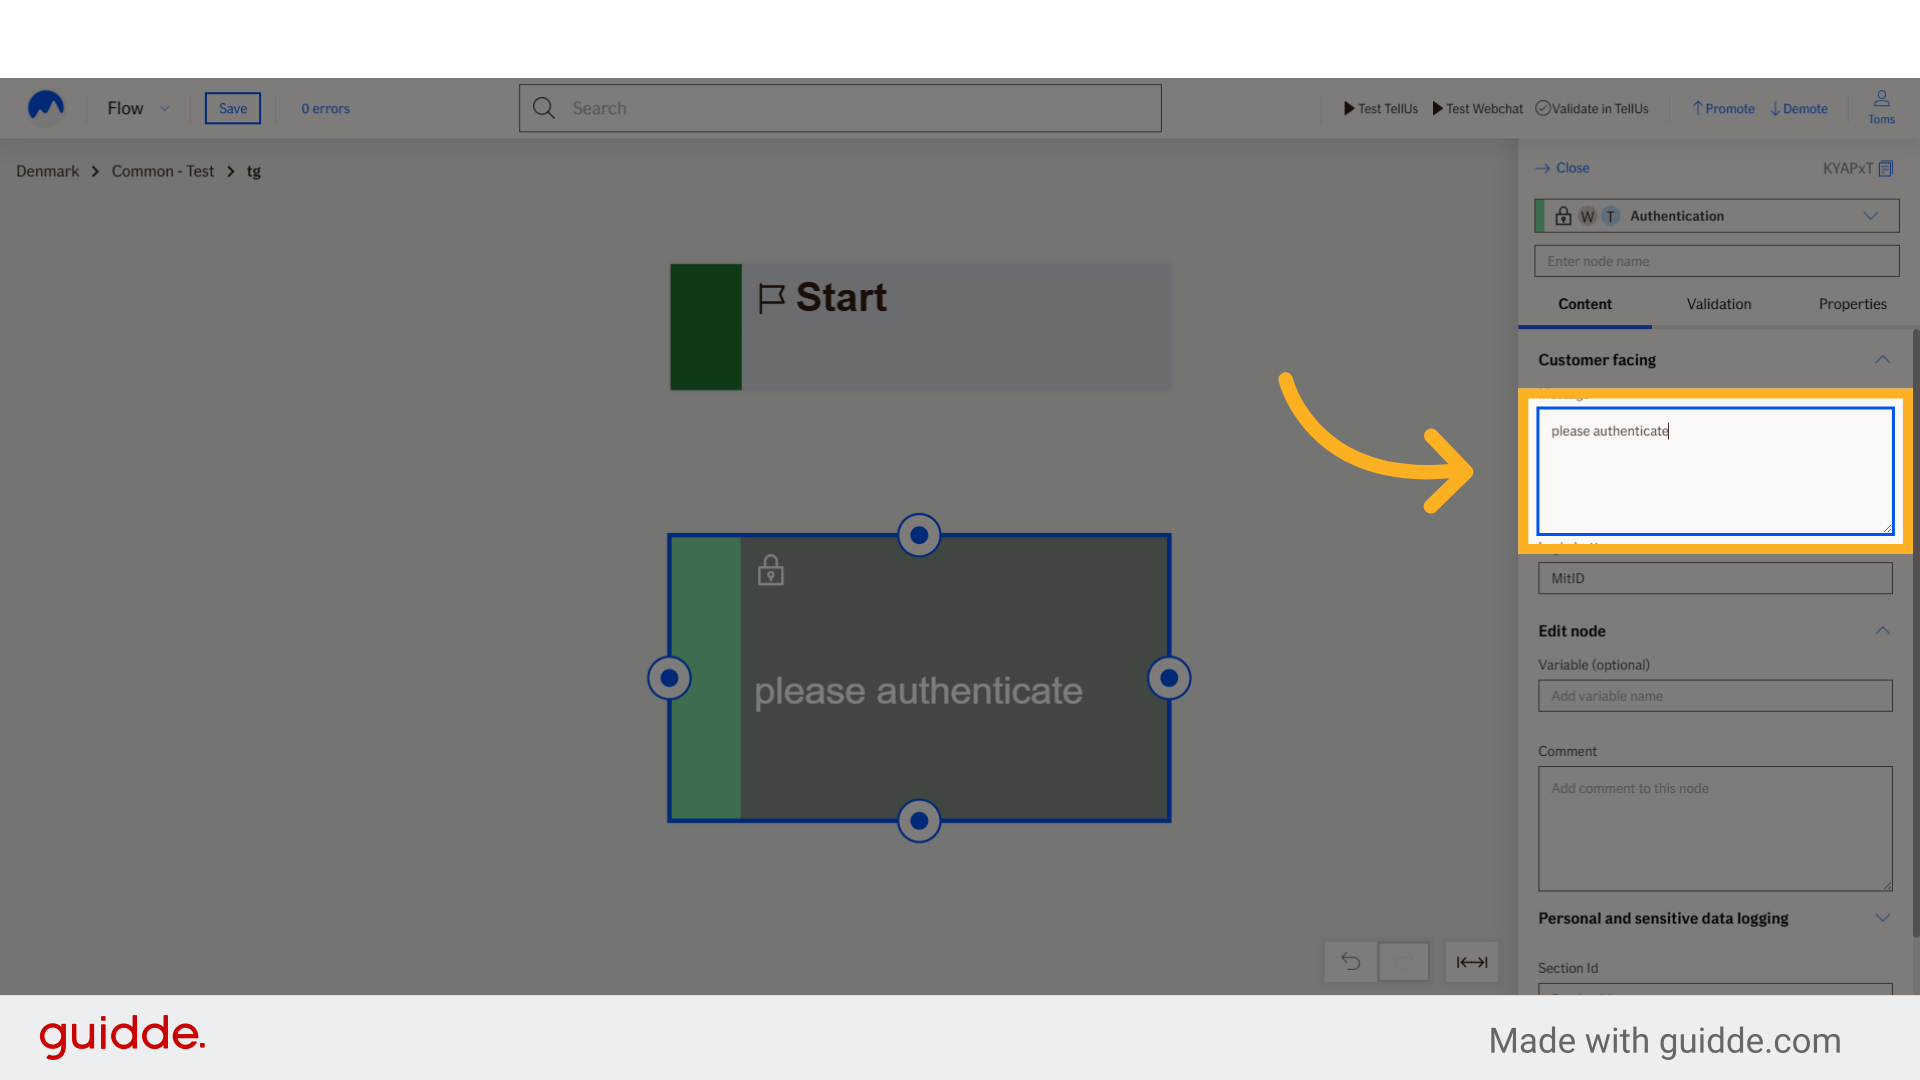
4. Fill user message
Input a message for user to see.
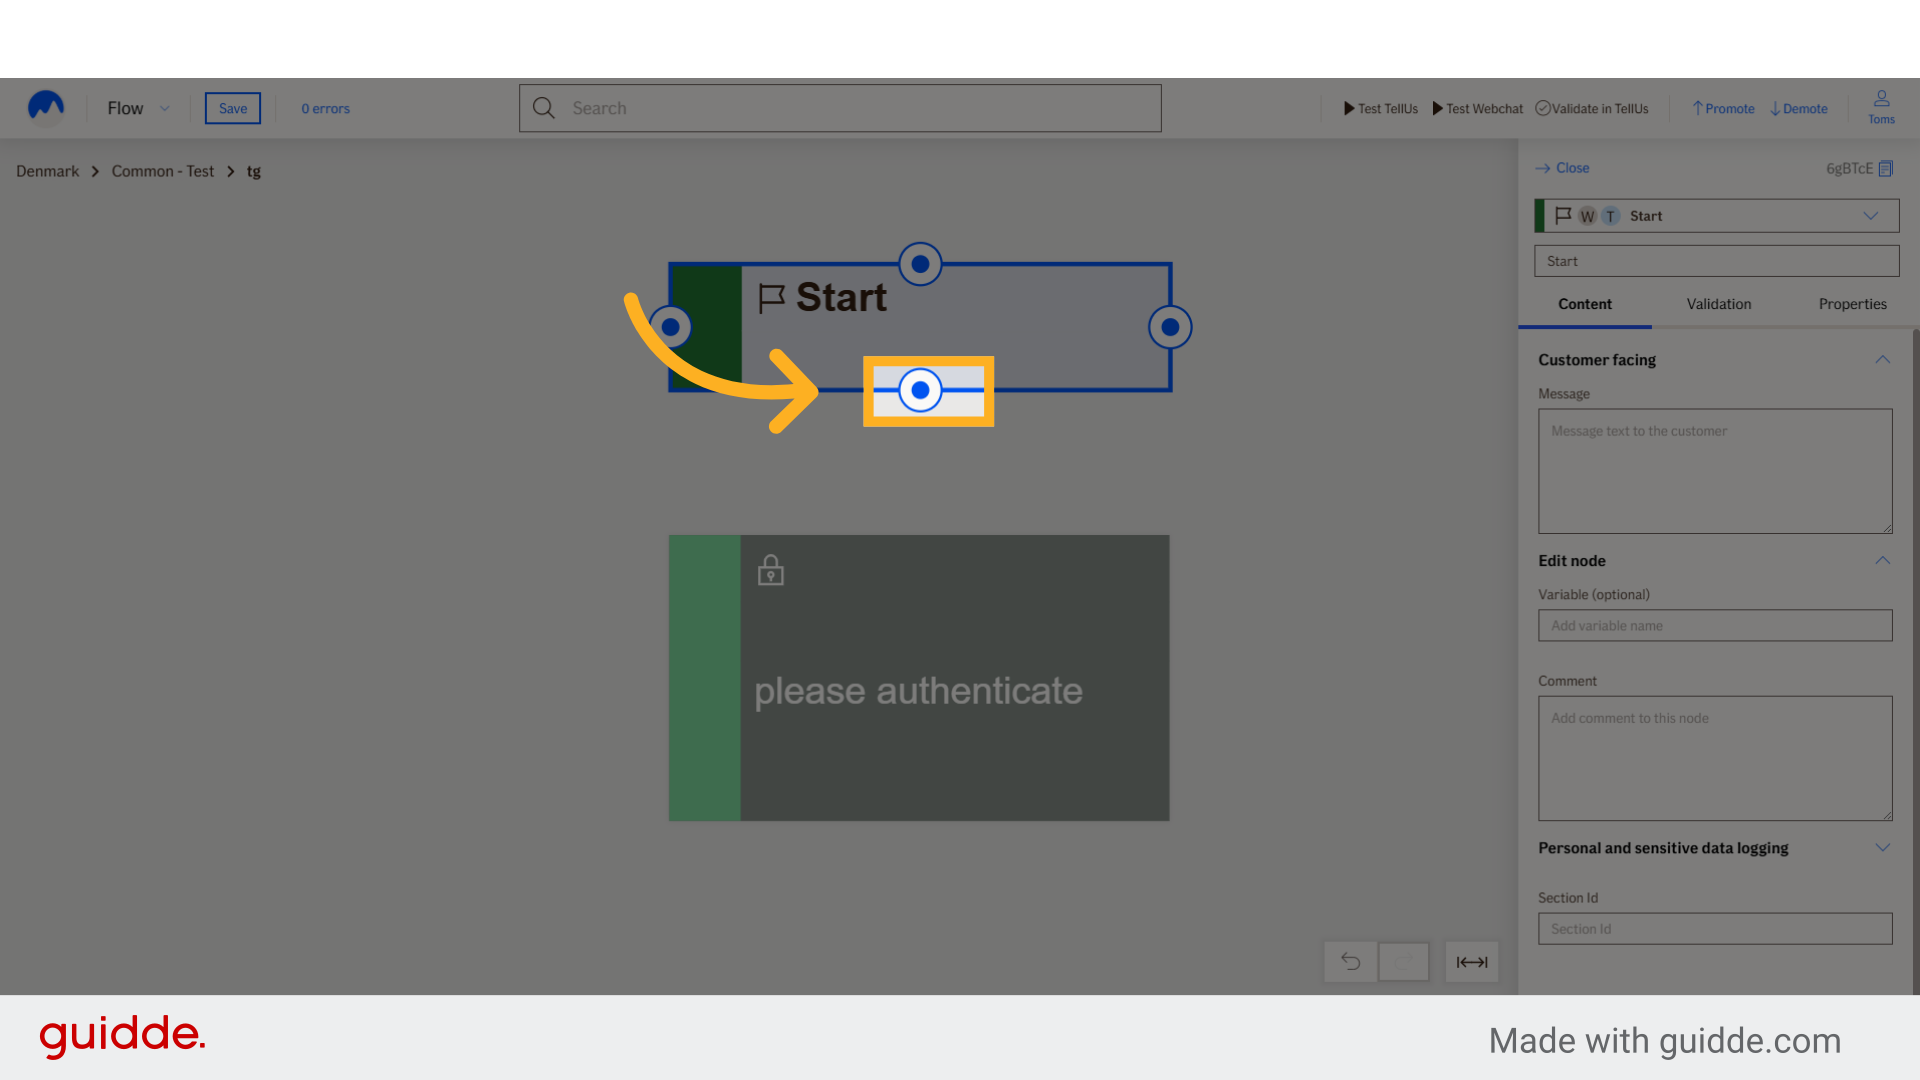
5. Start node connection
Start node connection.
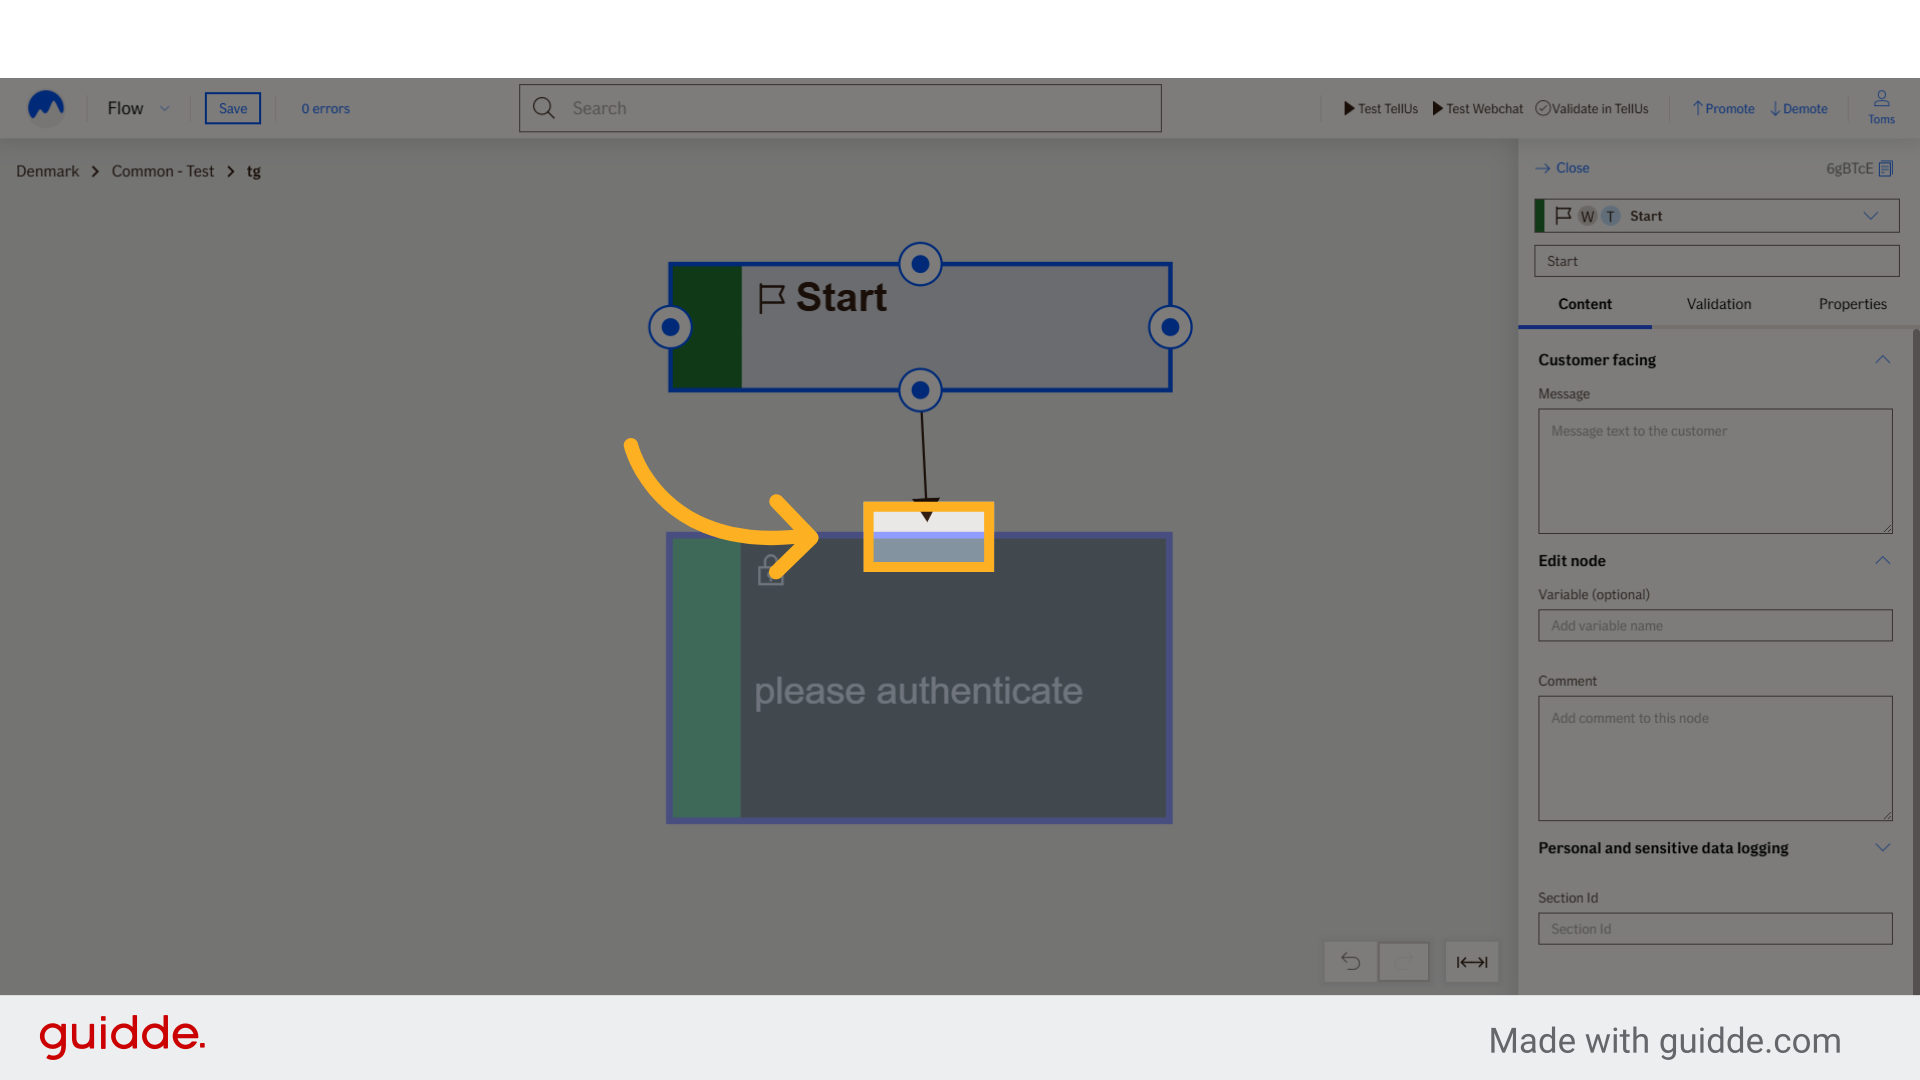
6. Finish connection
Finish the connection
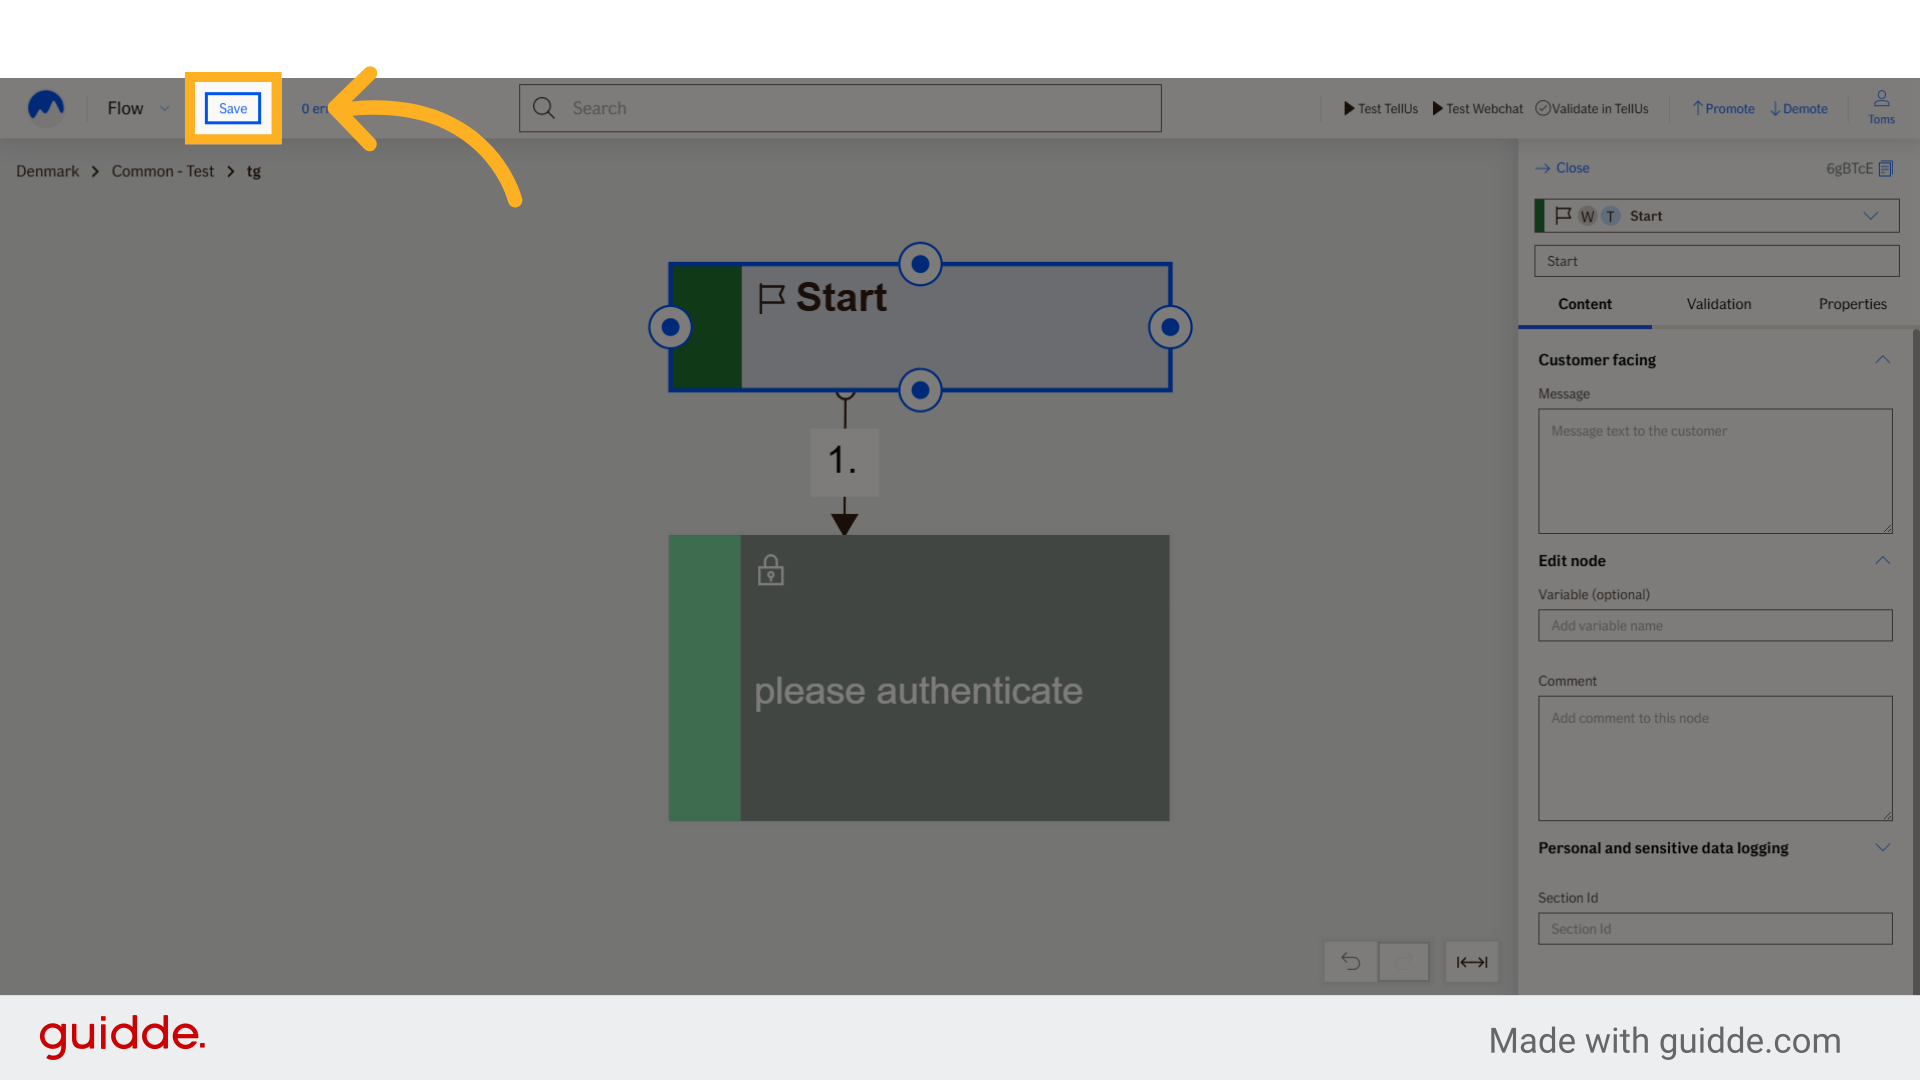
7. Click "Save"
Click on the "Save" button.
This guide covered the process of creating an authentication node in Atlas Editor